Ever wondered why your camera has so many different buttons and dials? Well, they’re certainly there for a reason, and learning how to master all of your camera’s settings will instantly make you a better photographer. In this guide, we’ll explore each camera setting in detail, providing practical tips and techniques to help you maximise your camera’s capabilities and boost your creative skills.
01. Aperture
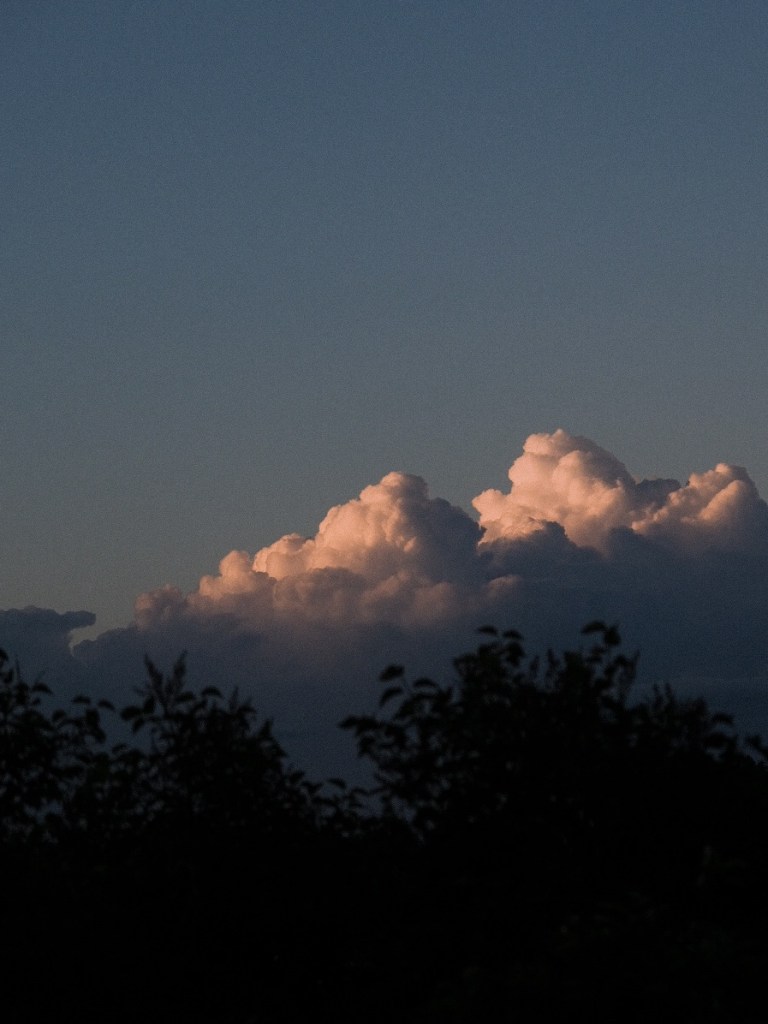
Aperture refers to the size of the opening in the lens through which light passes when you take a photograph. It is measured in f-stops (e.g., f/1.8, f/4, f/16). A wide aperture (e.g., f/1.8) allows more light to enter the lens, resulting in a shallow depth of field and blurred background (bokeh). This is ideal for portraits and subjects where you want to isolate the main subject from the background. A narrow aperture (e.g., f/16) reduces the amount of light but increases the depth of field, keeping more of the scene in focus. Use aperture priority mode (A or Av) to control depth of field and achieve desired background blur or sharpness.
02. Shutter Speed
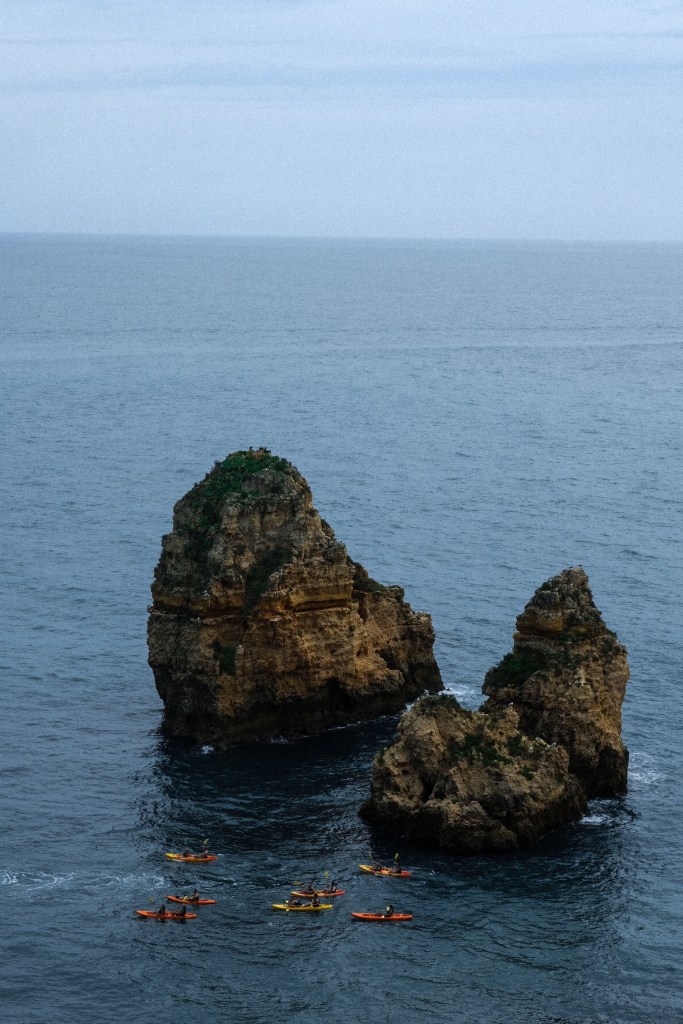
Shutter speed determines the duration for which the camera’s shutter remains open, exposing the camera sensor to light. It is measured in seconds or fractions of a second (e.g., 1/500s, 1s). A fast shutter speed (e.g., 1/1000s) freezes motion and is ideal for capturing sports, wildlife, or fast-moving subjects without blur. A slow shutter speed (e.g., 1s) allows more light to enter the sensor and is used for long exposures, creative light trails, or capturing motion blur in subjects like waterfalls or traffic. Use shutter priority mode (S or Tv) to control motion and freeze or blur action as desired.
03. ISO
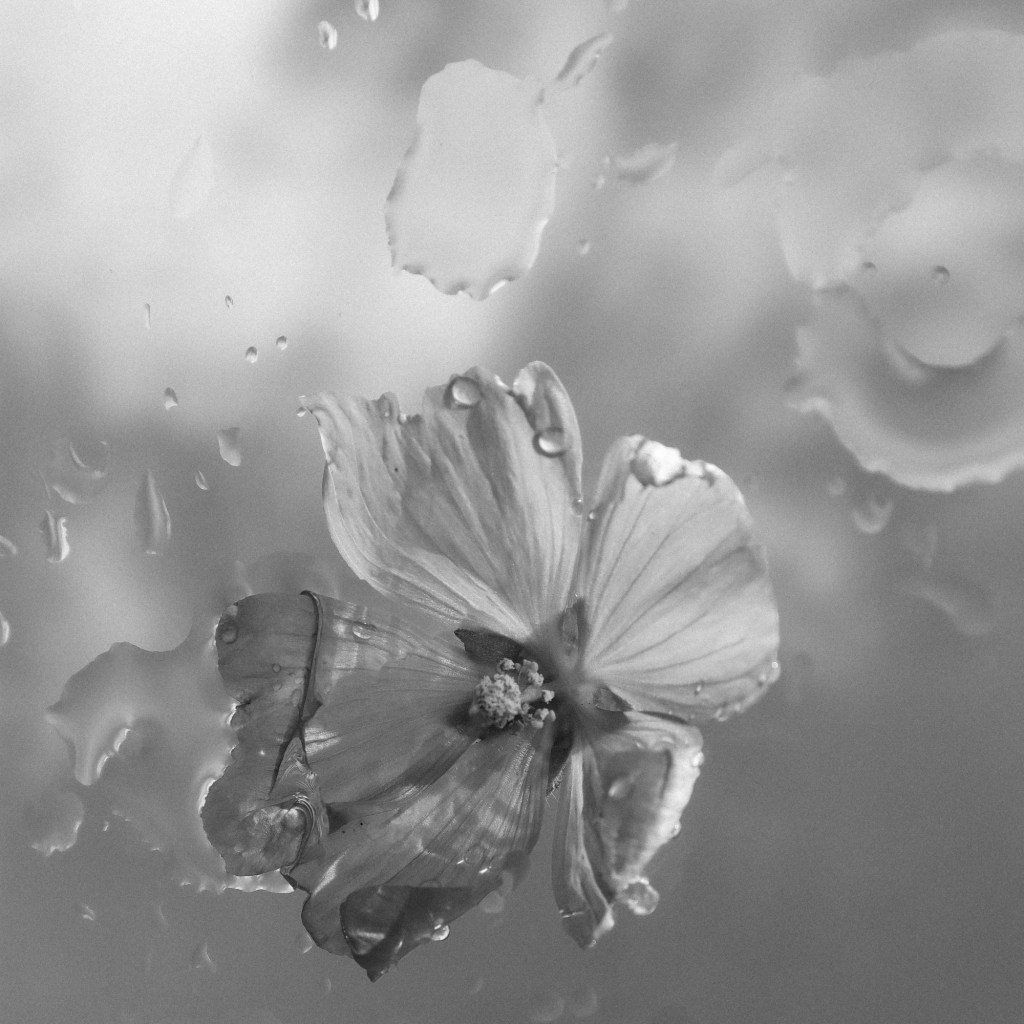
ISO measures the sensitivity of the camera sensor to light. A lower ISO (e.g., ISO 100) produces cleaner and less noisy images but requires more light. A higher ISO (e.g., ISO 1600) increases sensitivity, allowing you to shoot in low-light conditions or faster shutter speeds but may introduce noise (graininess) to the image. Use Auto ISO for convenience in varying light conditions or manually adjust ISO based on lighting and desired image quality.
04. White Balance
White balance adjusts the colour temperature of your photos to ensure accurate and natural-looking colours under different lighting conditions. Preset white balance settings include daylight, shade, cloudy, tungsten, fluorescent, and flash, each corresponding to different light sources. Custom white balance allows you to manually adjust colour temperature based on specific lighting conditions or use a gray card for accurate colour reproduction. Experiment with white balance settings to achieve desired colour tones and mood in your photographs.
05. Exposure Compensation
Exposure compensation allows you to adjust the exposure of your photos manually when shooting in semi-automatic modes like aperture priority or shutter priority. Use exposure compensation (+/- EV) to brighten or darken the image based on the camera’s metering. Increase exposure compensation for bright scenes or decrease it for dark scenes to achieve balanced exposure and avoid underexposed (too dark) or overexposed (too bright) images.
06. Focus Modes
Focus modes determine how the camera focuses on your subject. Single Autofocus (AF-S) locks focus on a single subject and is suitable for still subjects. Continuous Autofocus (AF-C) tracks moving subjects and adjusts focus continuously, ideal for sports or wildlife photography. Manual focus (MF) gives you full control over focusing by adjusting the focus ring on the lens manually. Use autofocus modes based on your subject’s movement and shooting conditions for accurate and sharp focus.
07. Metering Modes
Metering modes measure the brightness of a scene and determine how the camera sets exposure. Evaluative or matrix metering analyses the entire scene and calculates exposure based on various areas. Center-weighted metering priorities the center of the frame, ideal for portraits. Spot metering measures a small area (typically the center) and sets exposure based on that area, useful for high-contrast scenes or backlit subjects. Choose metering modes based on the lighting conditions and desired exposure for accurate metering and balanced exposure.
08. RAW vs. JPEG
RAW and JPEG are file formats for saving images captured by your camera. RAW files contain uncompressed data directly from the camera sensor, offering greater flexibility for editing and post-processing. JPEG files are compressed and processed in-camera, resulting in smaller file sizes but less flexibility for editing. Use RAW format for professional work or extensive editing, while JPEG format is convenient for sharing or printing directly from the camera. Experiment with both formats to understand their advantages and choose the one that best suits your workflow and image quality requirements.
Mastering camera settings is essential for achieving greater creative control and capturing stunning images in various shooting conditions. Experiment with different settings, practice regularly, and refine your techniques to boost your photography skills and create images that convey your artistic vision effectively.
