
Creating a photo essay is one of the most powerful ways to grow as a photographer. It pushes you beyond single “standalone” images and into the world of storytelling. It’s where each frame builds on the next, and feeling and flow matter just as much as composition and light.
If you’ve never made a photo essay before, don’t worry. This guide walks you through the full process: from choosing a theme, to structuring your images, to editing for cohesion. It doesn’t matter if you’re using a DSLR or your phone, the principles are the same!
✧ Step 1: Choose Your Theme or Subject
First, remember that your theme doesn’t need to be dramatic or exotic. The most important is that it means something to you. A good photo essay isn’t about showing everything, but rather about exploring one thing, deeply.
Here are some ways to choose your subject:
✧ Start with a question:
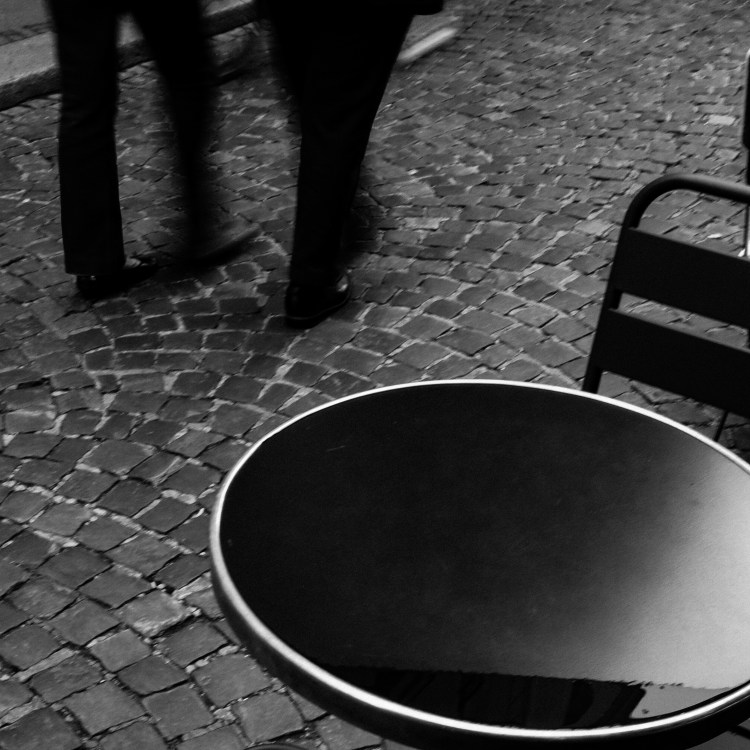
- What does loneliness look like in public spaces?
- What happens at the edges of my town?
- What does home feel like from a distance?
✧ Or choose a constraint:
- One street
- One person
- One afternoon
- One item (hands, chairs, shadows, fences)
✧ Think small:
Big stories live in small places. You don’t need to travel to start a photo essay. Start by paying closer attention to where you already are.
✧ Step 2: Plan with Intention
A little pre-planning will help guide your creative focus.
✧ Prompts to Explore:
- What story am I trying to tell or reveal?
- What feeling do I want someone to get from this series?
- What moments or visuals am I drawn to?
✧ Tools that help:
- Moodboard: Collect inspiration — colors, tones, moments, gestures — on Pinterest or a collage app.
- Sketches: Draw rough frames of how you might photograph certain scenes.
- Word list: Write down 5 words that capture the mood or idea behind your project (e.g. tender, distant, faded, industrial, waiting). Refer back when shooting and editing.
- Light mapping: Think about what kind of light fits your story (harsh midday, golden hour, overcast gray), and plan accordingly.
✧ Do light research:
If your subject is specific (a person, community, or place), do a little background reading or talk to people first. It helps you approach with context, not just curiosity.
✧ Step 3: What Gear Do You Need?
You don’t need much — just something to capture what you see.
- Camera or phone: Whatever you have, use it well.
- Notebook or voice memo app: To jot down thoughts, quotes, or things you noticed.
- Extra batteries/memory: You’ll likely be shooting more than usual.
- Optional: One fixed lens (like 35mm or 50mm) to keep consistency and simplify choices.
Tip: The best gear is whatever helps you stay focused on the story, not the settings.
✧ Step 4: Shoot More Than You Need (But With Purpose)
When documenting for a photo essay, think in layers:
- Wide shots: To give context
- Medium shots: To show interactions or detail
- Close-ups: To bring the viewer emotionally closer
- Transitions: Movement, in-between moments, mood shifts
Stay longer than you feel comfortable. Watch for light changes, quiet shifts, repetition. Don’t just chase action, look for emotion.
✧ Step 5: Curate the Story (Not Just the Strongest Photos)
Once you’ve shot the material, step back and look at it like an editor.
✧ Choose images that:
- Advance the story or mood
- Contrast and complement one another
- Include both strong visuals and emotional tone
✧ What to leave out:
- Duplicates of the same scene
- Images that are “pretty” but don’t add meaning
- Any shot that breaks the flow or confuses the narrative
✧ Sequencing:
Think of it like poetry or a short film:
- Opening – Set the tone (wide, atmospheric, or quiet detail)
- Development – Show progression or emotional depth
- Shift – Introduce contrast or tension
- Closing – End on a note that lingers — not necessarily resolution, but reflection
Tip: Lay out your images and literally move them around. See how the story feels in different orders.
✧ Step 6: Edit for Cohesion, Not Perfection
You don’t want each photo to be identical. But you do want them to feel like they belong to the same world.
✧ What to consider:
- Color grading or black and white consistency
- Aspect ratio (don’t mix square with wide if it disrupts flow)
- Similar tone or pacing (don’t drop a punchy contrast-heavy image between two soft, slow ones)
- Grain, exposure, and warmth — tweak these to unify the set
Tip: Editing a photo essay is like building a mood — not just a highlight reel.
✧ Final Thought
Your first photo essay doesn’t need to be groundbreaking. It just needs to be honest.
Start small. Stay curious. Let the story take shape slowly. The beauty of the photo essay is in how true it feels. Because when you begin to see the world in sequences, your work begins to speak.
✧ Need a Place to Start?
Here are some photo essay ideas to explore. Choose the one that makes your chest feel a little electric. That’s usually the one worth chasing!
↠ Everyday Poetry (Ordinary, Made Visible)
- A laundromat at opening time
- Your grandparents’ hands
- Early mornings at the bus stop
- A single café over the course of a week
- The inside of your fridge, rearranged as still life
- The walk home from work — same route, different light
↠ Human Moments
- A local artisan and their workspace
- Portraits of quiet jobs (e.g. cobbler, florist, butcher)
- People waiting (at stops, in lines, for someone)
- Conversations without faces
- One person, seven days, seven moods
↠ Personal Storytelling
- What home looks like in objects
- A love letter to someone who left
- Your neighborhood before sunrise
- Your life, through reflections
- Places you go when you feel lost
↠ Light Studies
- One window, different times of day
- Only shadows
- Only light on hands
- Rain light
- Harsh vs soft — documenting contrast
↠ Thematic / Conceptual
- The color yellow
- Quiet chaos
- Things that don’t belong
- One block, 100 details
- The space between people
